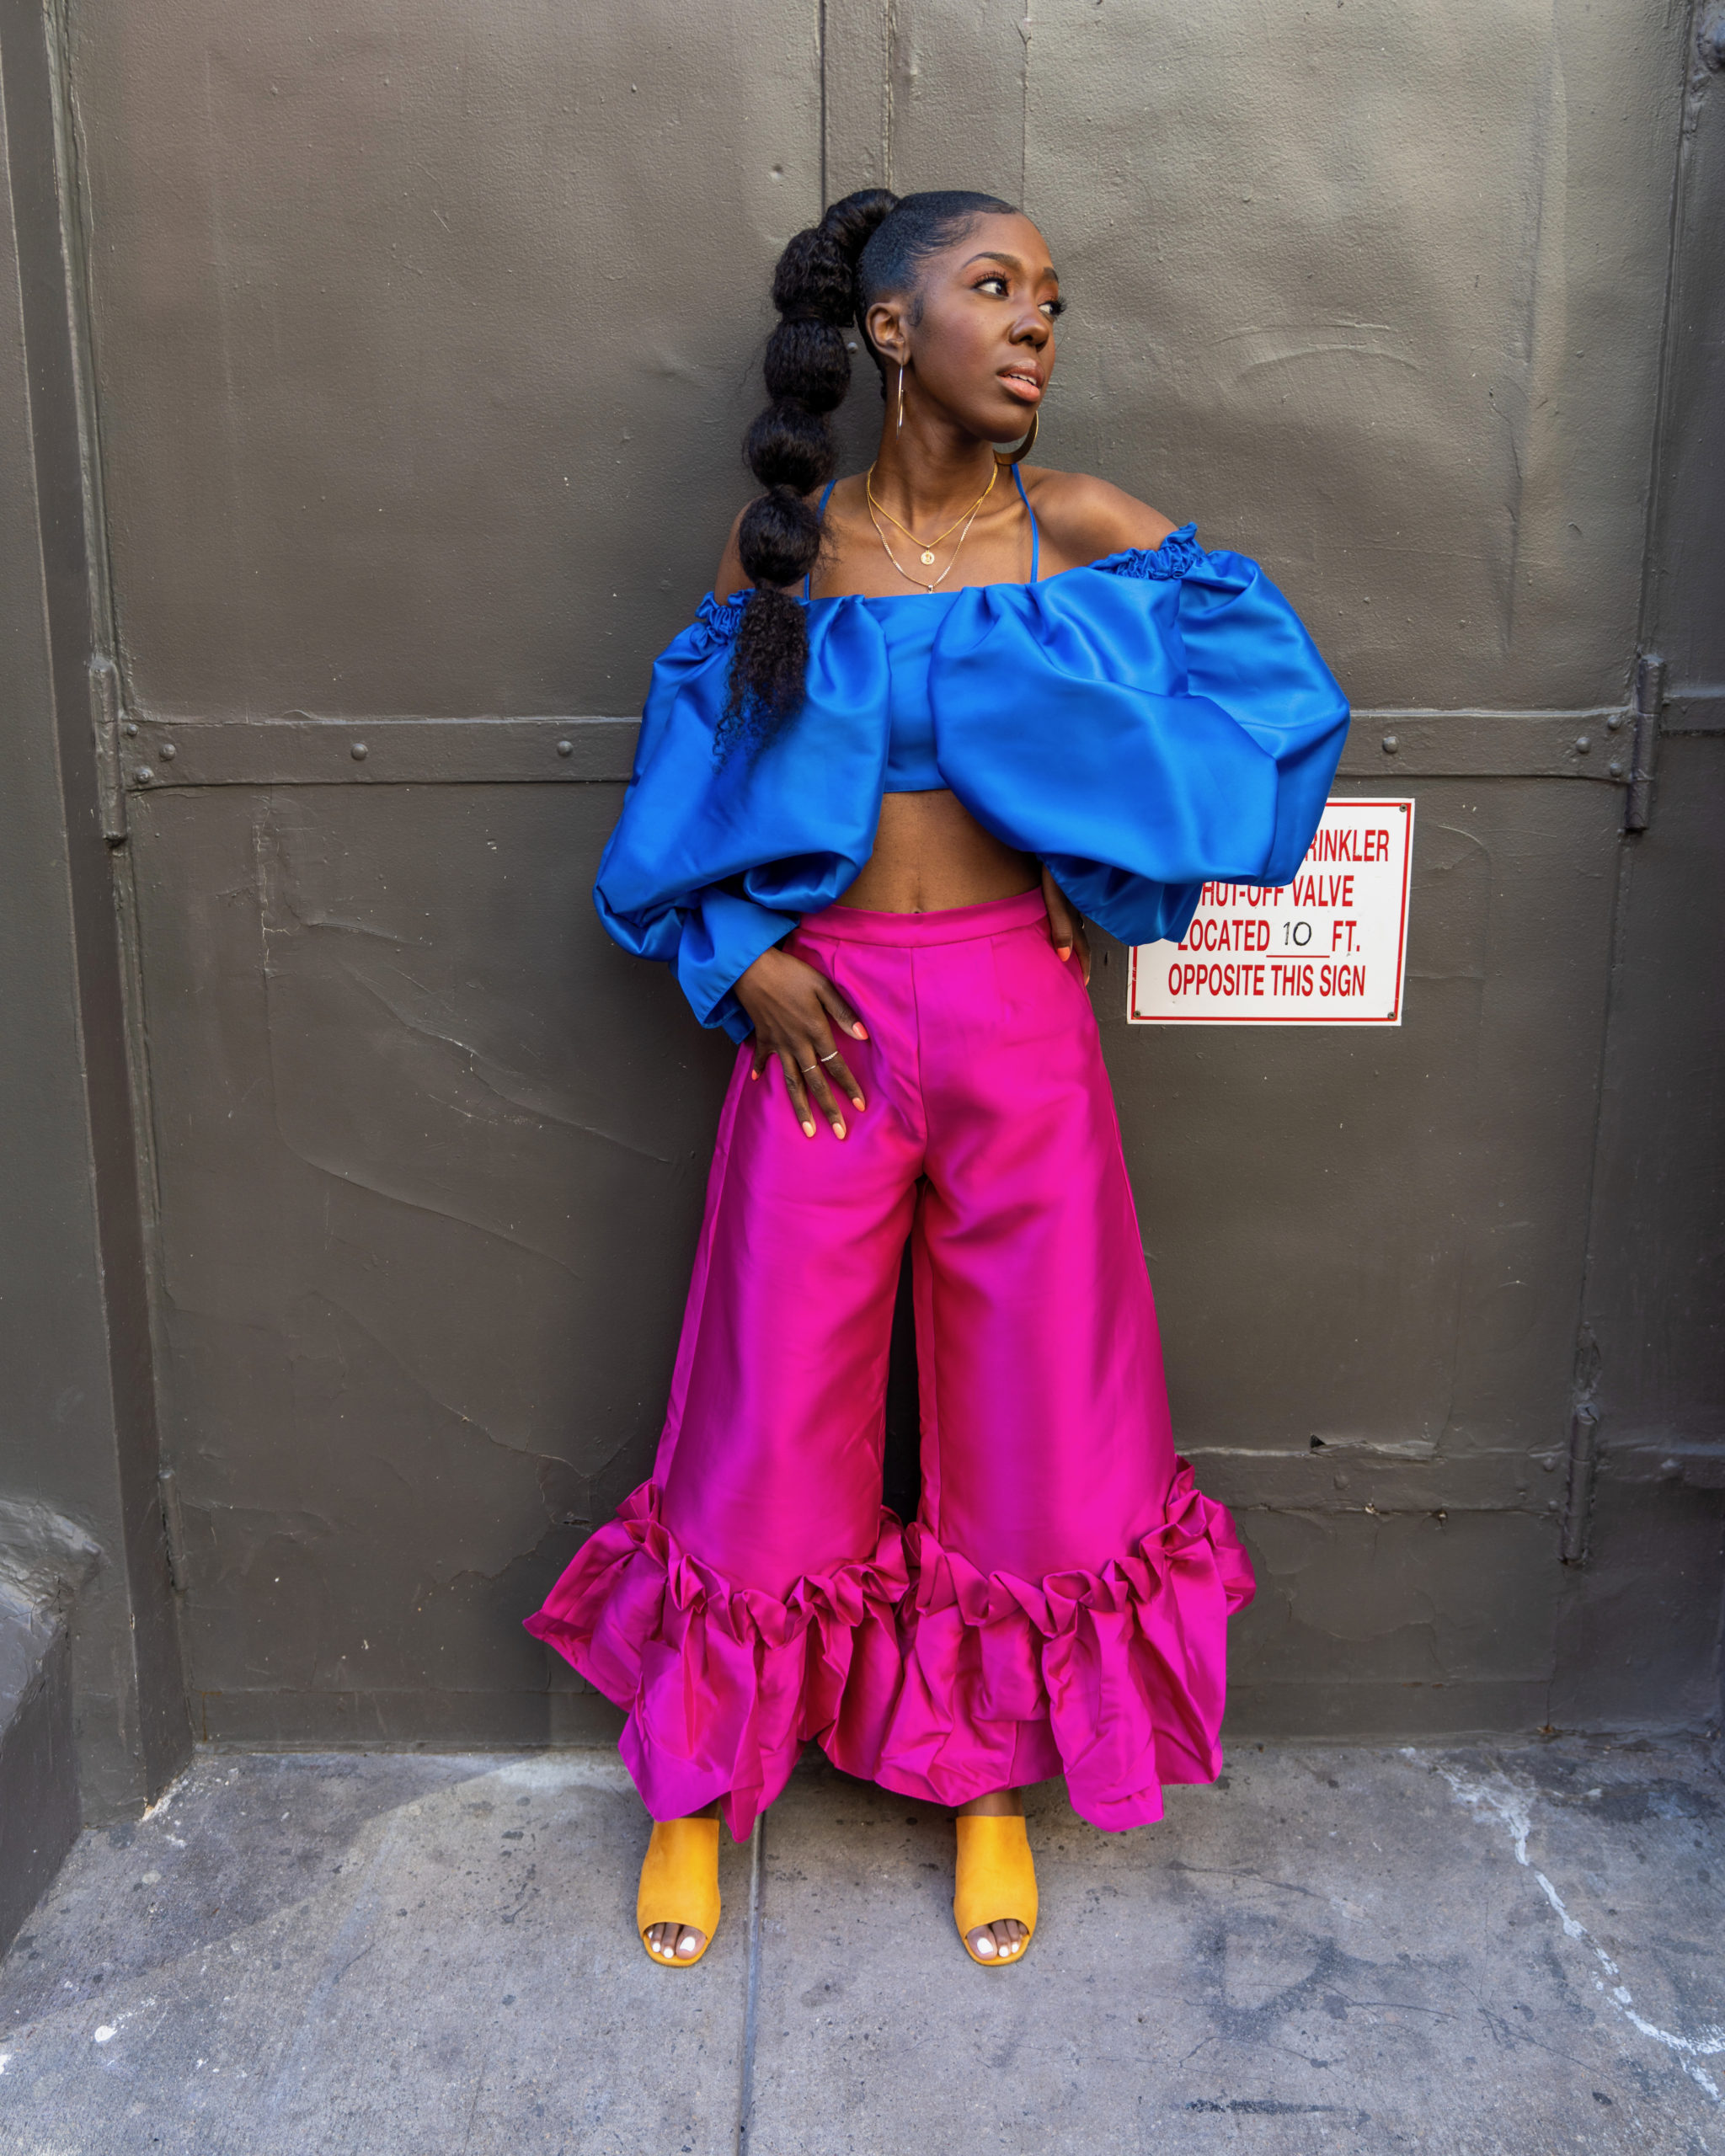
I have finally mastered a twist out routine that gives me definition and longevity. Twist outs are my go to method for styling my hair. I’ve been wearing my natural hair for almost ten years so I have lots of experience with trying different products and techniques in hopes of achieving the perfect twist out. (Thank goodness for Youtube university and the OG natural hair youtubers that made this information accessible.) Years of information, trial and error, plus finding a trusted salon has all helped in getting my hair to where it is now.
Twist Out 101
A twist out is the ideal natural hairstyle. It can be done on damp or dry hair. It involves dividing your hair into sections, creating twists with smaller sections, leaving the hair to set, then unraveling the twists to achieve uniform curls or waves.
This style is useful if you are transitioning from relaxed to natural hair, or if you are hoping to add definition while elongating your curls. All levels of hair expertise are welcome when it comes to twist outs. I’ve been doing twists outs since the beginning of my natural hair journey and I continue to do them many years later.
But first…
The key to a great twist out is having healthy hair. If you are into hair typing I would describe my hair as type 4 with tight kinky curls. I go to a hair salon 3-4 times a year for my hair upkeep. Routine trims and treatments will contribute to the overall health of your hair and the longevity of the twist out.
The twist out method that I will describe is great for definition and longevity. I typically do this type of twist out when I want my hair to last at least two weeks and I am comfortable with a shrunken look for the first few days.
What you will need
- Blowdryer
- Tangle Teezer
- Mielle Pomegranate and Honey Twisting Souffle
- Mielle White Peony Leave In Conditioner
- Jane Carter Natural Twist Out Foam
- Tropic Isle Living Jamaican Black Castor Oil
- Satin scarf
- Goody Ouchless Hair Tie
Step 1: Blow dry
I start with blow dried hair to minimize frizz when taking down the twist out. I prepare for the blow dry process while I am washing my hair. Using the Tangle Teezer Hairbrush I ensure that each section of my hair is detangled while wet. While my hair is in 4 large sections, I put my hair in 3-4 twists per section. This cuts the blow drying process in half and keeps my hair from drying out too quickly. I use this Revlon One Step Hair Dryer and Styler.
Step 2: Twist
Once my hair is blow dried I prepare to install my loose twists. Creating loose twists for a twist out is different than that of a flat twist out. Both styles start at the root but flat twists mimic that of a cornrow whereas loose twists will fall along your head as you twist. I decide which direction I want my hair to fall and I part my hair accordingly. For each twist I use the Mielle Pomegranate and Honey Twisting Souffle followed by the Jane Carter Natural Twist Out Foam.
Step 3: Sleep routine
The longevity of your twist out will greatly depend on how you maintain your hair while sleeping. I use the banding method with these Goody Ouchless Hair Ties to ensure that my hair is staying stretched throughout the night. Check out this video by Naptural85 for an example of what the banding method looks like. For protection, I wear both a satin scarf and bonnet while sleeping.
Step 4: Daily refresh
Every morning I take down the hair ties and fluff my hair using my hands only. Due to the amount of definition this style has I like to let my hair build its own volume over time. I refresh my hair with a couple sprays of Mielle White Peony Leave In Conditioner and a small amount of Tropic Isle Living Jamaican Black Castor Oil.


I hope this routine is helpful!
Live abundantly,
Bethany


