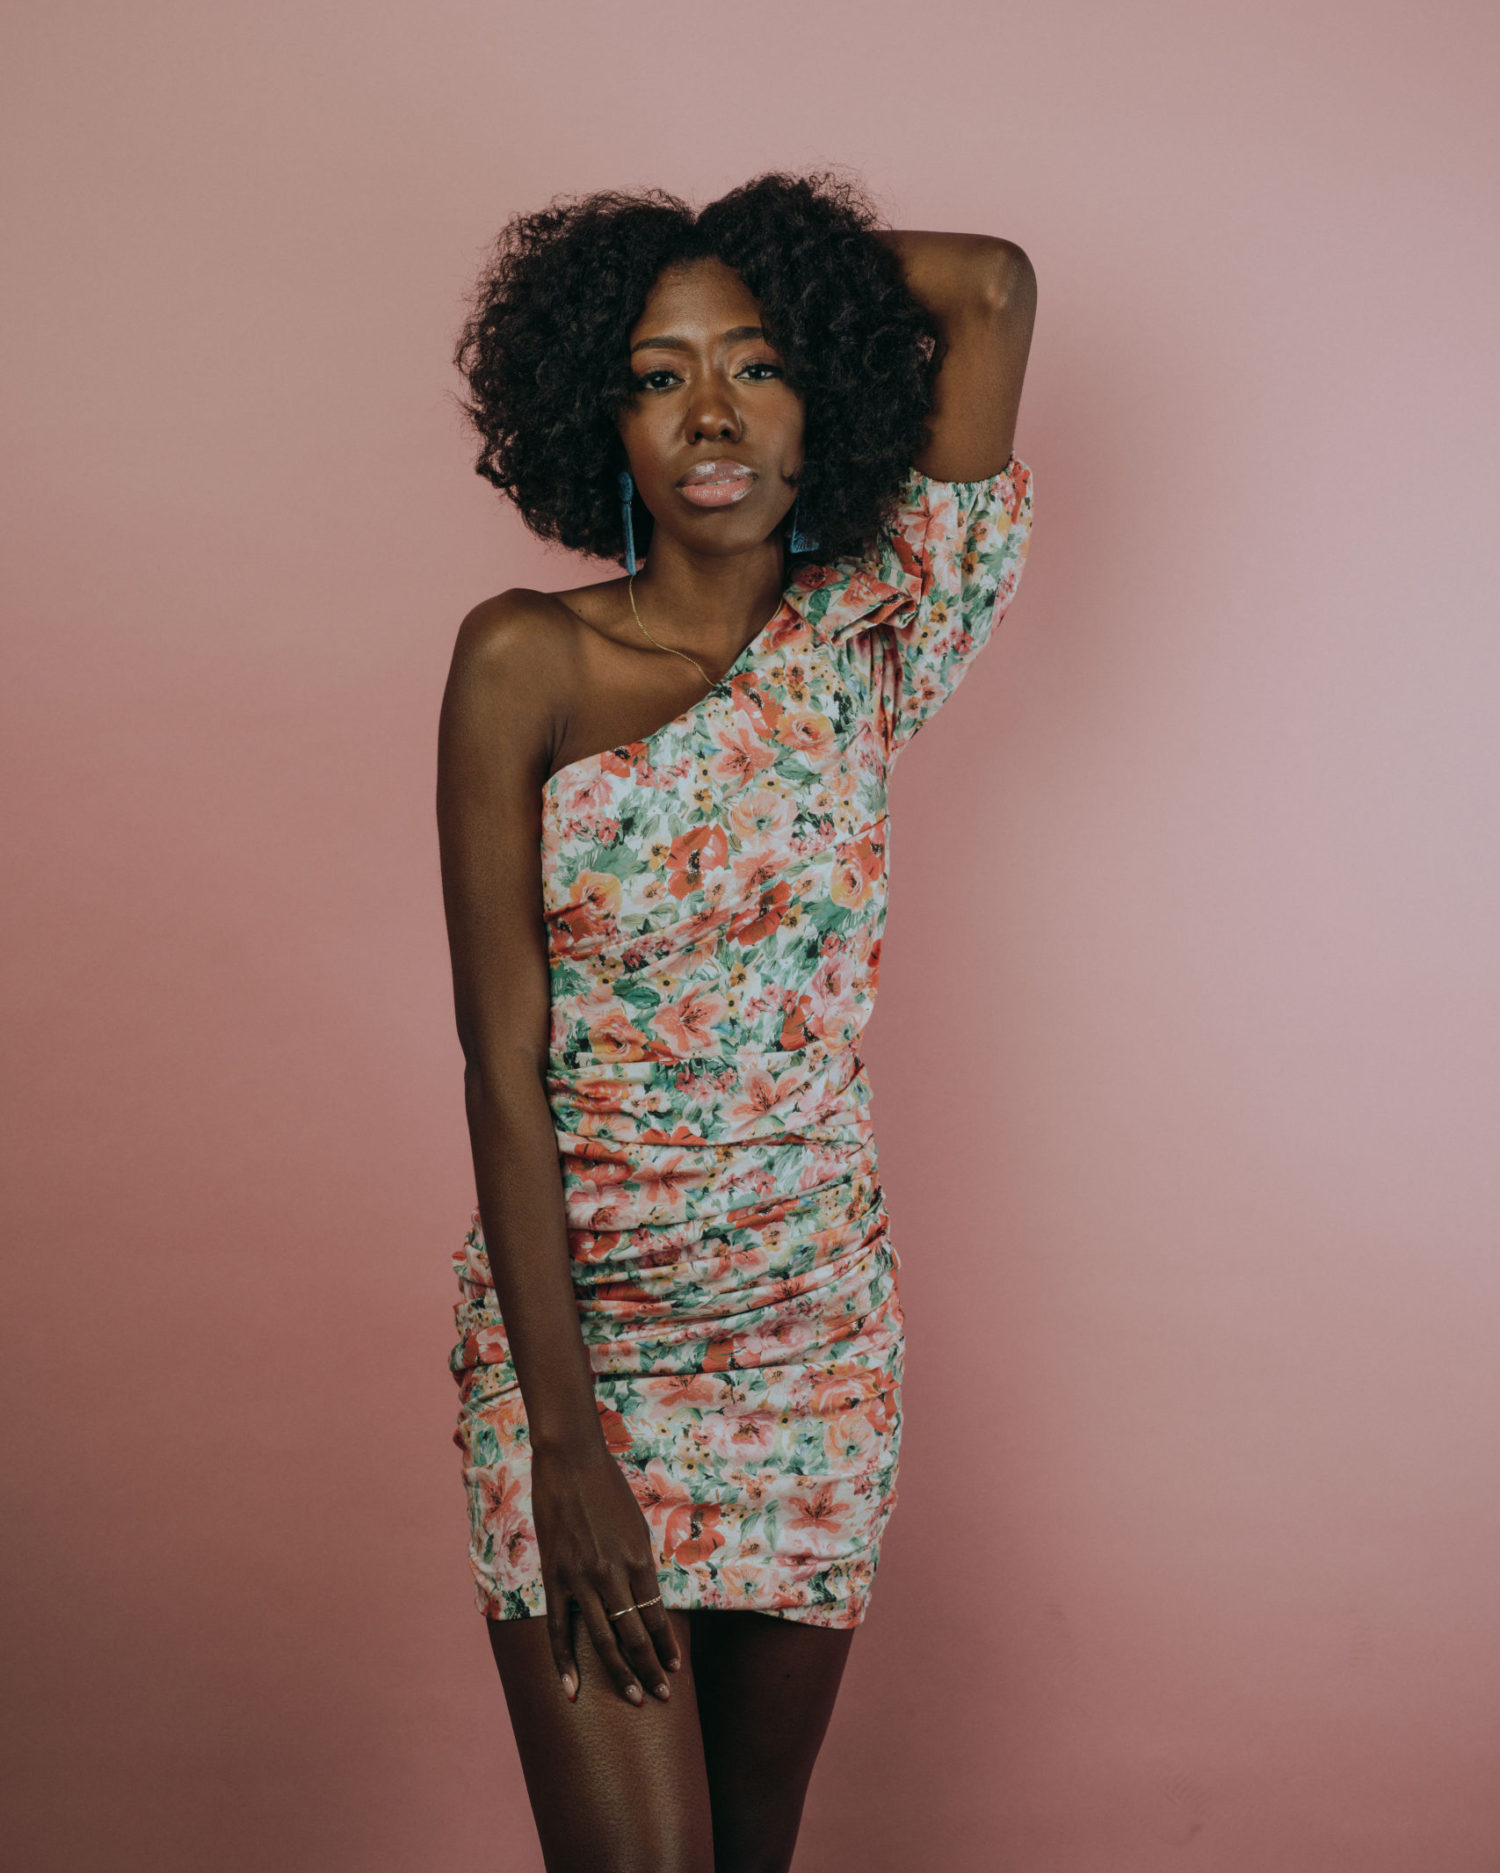
Who said your type 4 hair won’t blend with a sew-in? I’ve had traditional sew-in with leave out for 6 weeks, here’s what you need to know.

I hope I don’t get my natural hair card revoked … but I love straight hair. The extra length makes a statement and pairs nicely with my winter hats. Now that I’ve had my second install in 2 years, I have a few tips that I wish I knew sooner as someone with type 4 natural hair. These tips are written in no particular order as you may need to prioritize any number of factors during your decision making.
What is a traditional sew-in? This is an extension installation method where your hair is braided into small cornrows followed by weft hair sewn directly onto those braids. For many black women like myself, traditional sew-ins served as an introduction to weaves. Today we have frontals, closures, wigs, microlinks, tape-ins — a wide array of hair trends to choose from.
A traditional sew-in gave me the opportunity to experiment with a familiar hairstyle. Despite its familiarity, I was initially under the impression that the only sew-in I could get was one with no leave-out. While this type of sew-in has a lot of benefits, the belief that my options were limited was simply incorrect. I did some internal work to overcome my fear of using heat (heat damage is the worst). Now with proper education on how to take care of my natural hair before and during installation, I am much more comfortable with traditional sew-ins.
| I share things I enjoy with all of you. If you happen to buy, I may earn a commission when you use the links in this post (at no cost to you). |
Choosing The Hairstyle
Extensions can be your chance at trying something completely new or an opportunity to add drama to a style you already love. I use extensions as an opportunity to experiment with length.
Related: How To Prep Your Natural Hair For Protective Styles
My style of choice is a middle part sew in using 26” body wave bundles. This is my go to because it adds drama while blending seamlessly with my straightened natural hair.
Here are three important things to keep in mind when choosing your hairstyle:
- What is the purpose of the sew-in? You need to consider what your needs and goals of your sew-in are. Do you desire more volume or length? This determines the amount and lengths of hair you need to purchase. Are you considering a new hair color or cut? Or do you want your sew-in to save you time in the morning or shield your hair while on vacation?
- What type of sew-in do you want? Do you want any leave-out? This refers to small sections of your hair that can be exposed to blend better with the extensions. You can have leave out around the perimeter, just in the front or in other places hair should be visible. When booking your appointment, you may need to choose your preference: a partial sew-in, full-head sew-in or closure.
- Can you handle the maintenance for that style? Getting a sew-in doesn’t mean that you completely abandon your hair for the duration of the style. You will still need to develop a routine to maintain the integrity of the hair. For example, if you are using curly extensions you may need to wash the hair more frequently and apply styling products to maintain the curls.
- Are there external factors that could impact the longevity of the style? This is where you have to think about the things that are in and completely out of your control. Consider things fitness routines and weather as they impact how much care you need to provide to your hair.


Choosing The Stylist
Choosing the right hair stylist is critical to flat and neat sew-in. A stylist with expertise in installing weaves can help you get the hairstyle you desire and one that lasts. As a sew-in novice, I really appreciated having a stylist who was provided guidance on what type of sew-in I should get. We discussed the maintenance that goes into each type (partial sew-in vs full head vs closure). We also discussed my work lifestyle and the level of physical activity I engage in.
Some stylists may also offer maintenance appointments to care for your sew-in weeks after your initial appointment. Services like this are a huge selling point for me when choosing a stylist. Policies between stylists may vary, however, I prefer to book maintenance appointments at the same place I had my sew-in installed.
Cost
Sew-ins are an investment of your time… and your wallet. As someone who budgets a decent amount of money per month for my hair, I knew that costs for a sew-in would be no different. Stylists may charge anywhere between $150 to $600 or more for a sew-in. This cost is based on a host of factors like: the hairstyle, desired length and volume, the salon/stylist’s expertise. This does not include the cost of the extensions which can also range between $80 and $600.
My advice is to do your research, identify the areas where you have to spend and the ways you can save. The hair catalog is very expansive. There are so many different styles, stylists, hair vendors and hair products available on the market. Ultimately, the justifications you make around cost are going to be largely personal. I’ve found that by purchasing higher quality hair, (which tends to be more expensive) I actually save money in the long run because I am able to re-use it for a future installation. Additionally, I tend to get my sew-ins in the cooler months when I am not sweating as much. As a result I don’t need as many maintenance appointments or can do a wash and set on my own.
With appropriate planning and care, sew-ins can be a worthy financial investment.
Maintenance
Once your sew-in is installed, the after care is pretty manageable. Assuming you are wearing human hair extensions, you should wrap or pin curl your hair every night. For those wearing curly or kinky hair extensions you may want to braid or twist the extensions at night instead. Whatever your night routine, you should use a satin bonnet to preserve the extensions.


Traditional sew-ins with leave out will require a little extra care. I am extra vigilant when it comes to making sure my hair does not revert to its natural state, which would result in my hair no longer blending with the extensions. My secret weapon is the Grace Eleyae Slap (Satin-Lined Caps). I have these in multiple colors and I carry them with me everywhere. I usually leave my hair wrapped underneath the cap. This cap is worn when I go to the gym, need to run a quick errand or if it’s raining/snowing while on my way to work.
Pro tip: Avoid using pins when wrapping the extensions. Pins tend to create dents in the hair. If you need to use pins to assist with wrapping, slide them out once you put your cap on.
When heat styling is needed, I use the Chi 44 Iron Guard Thermal Spray. You should be applying a heat protectant during thermal styling to prevent damage and keep your hair healthy.
I hope these traditional sew-in tips are helpful. Enjoy your new tresses!
Live abundantly,
Bethany